Documentation > Visual Studio
Getting Started with Artisteer for Visual Studio Applications
Artisteer is a great find for C# developers who are working with web applications.
Visual Studio templates generated
by Artisteer will save you time and effort as you will instantly create professional
and unique design for your web site. You no longer need to have artistic abilities or deal with Photoshop and CSS to
produce great web designs.
The following steps show how you can
create and
customize Visual Studio templates in Artisteer,
export
them to Visual Studio, and
preview it from there.
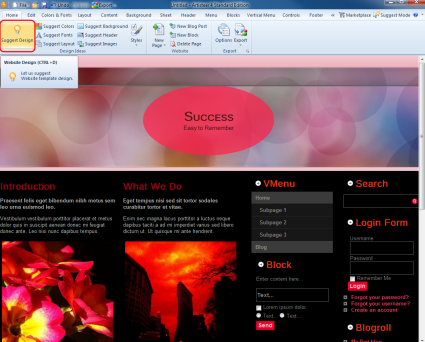
- Start Artisteer, then click on "Suggest Design" button at the top left corner of the navigation bar until you
see a template design you like (use "Undo" and "Redo" to go back to previous design ideas);
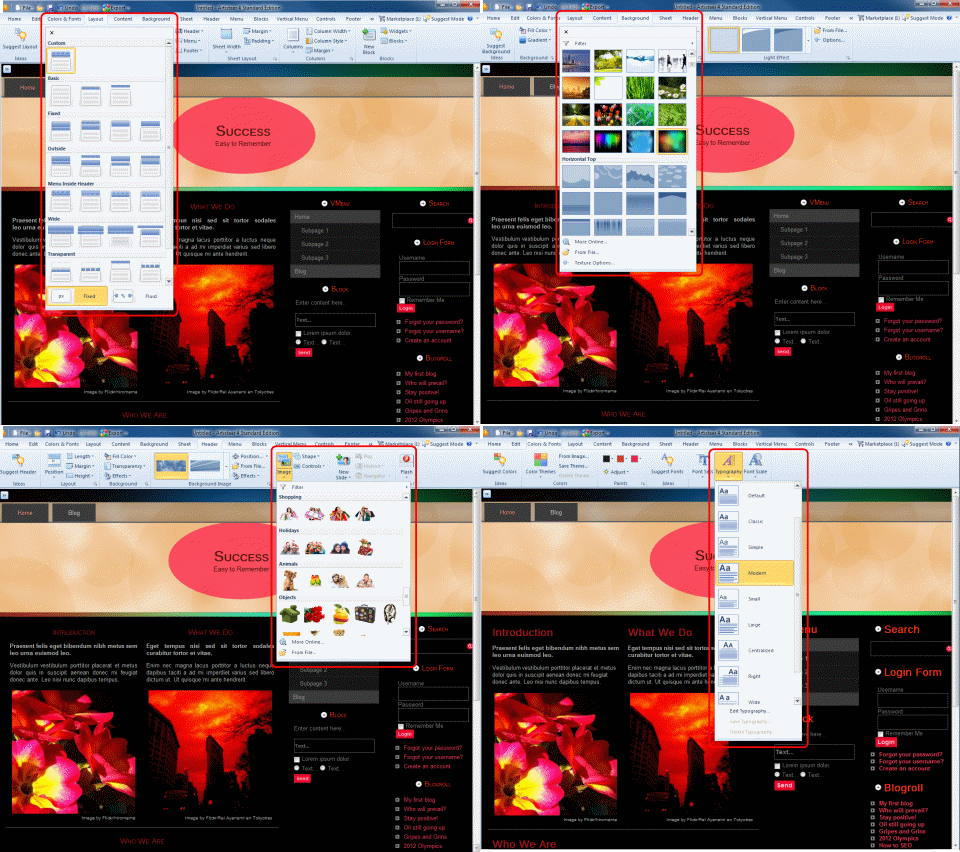
- Customize the Visual Studio template by choosing from different layout, background, header, font color and other options;
- Export ready C# template to a folder on your computer;
Note: The CodeCharge Studio export plugin is not included in Artisteer 4.0 by default. Please install it (for free) from Artisteer Marketplace, going to Export -> Marketplace -> New -> Visual Studio C# Project to install the plugin;
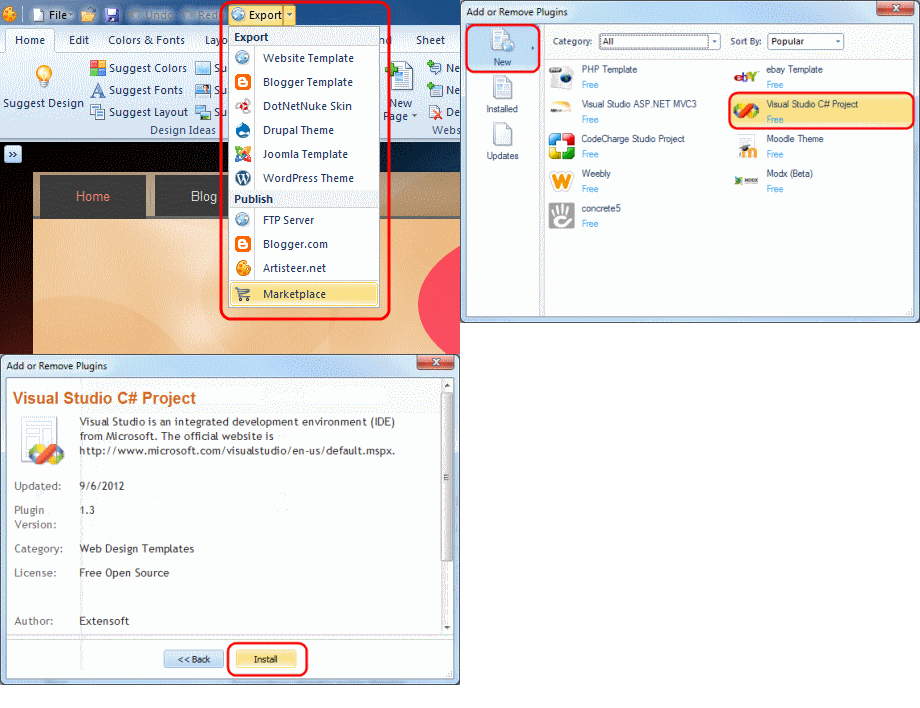
Now you can export your Artisteer design to Visual Studio.
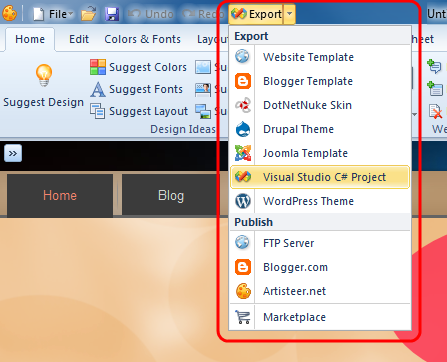
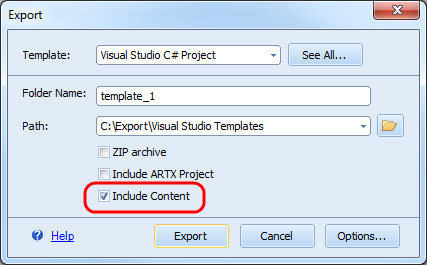
- Starting with Artisteer 4 you can also export content to Visual Studio. Please enable Include Content before exporting the template;
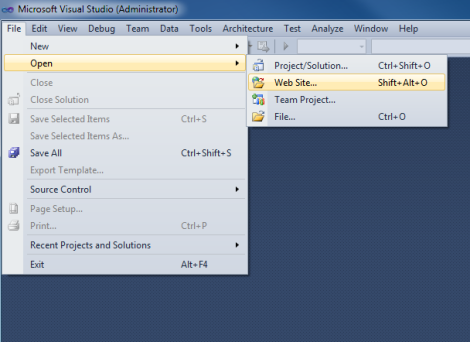
- Open exported template as Website from Visual Studio. Navigate File -> Open -> Web Site -> /my_template/ folder -> Open;
- Launch and preview sample web application by clicking Start button on Visual Studio toolbar.
Congratulations on your professionally designed website powered by your new C# template!
Now you can test and edit your web application with Visual Studio.
For more information visit
how to use Visual Studio templates.